
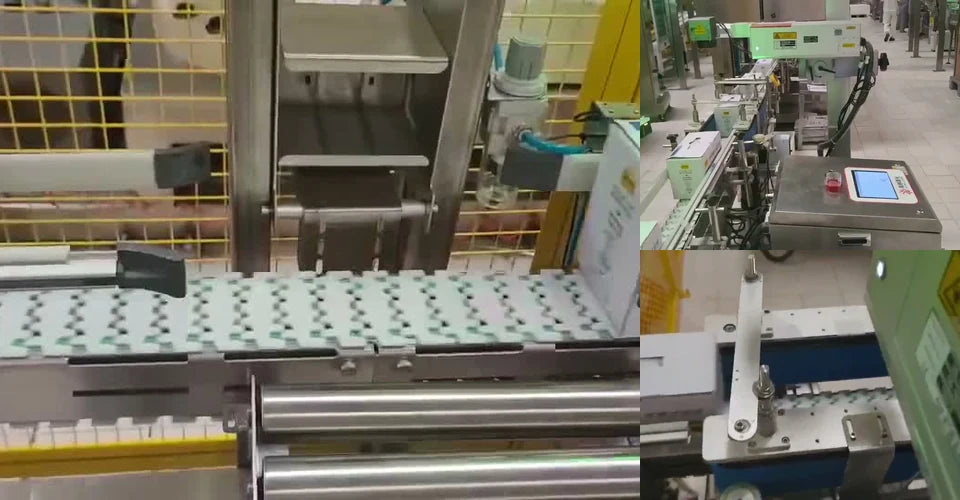
A marking system must fit both the product and the way it travels through the factory. Plan the source, handling and data interface together so the installation scope is clear before ordering.
Choose a stable marking location
Document available space, mounting positions, access for adjustment, the product path and the proposed marking surface. Include clearance for guards, extraction and maintenance in the site review.
Explain product presentation
- Conveyor: product orientation, spacing and speed variation.
- Paging: pack format, stack behavior and how individual items are separated.
- Fixtures: part location, changeovers and loading method.
- Vision positioning: part variation, required mark position and rejection needs.
Specify the data flow
Identify the date, batch, serial number or other variable information to be marked. Discuss where that information originates, who changes it and what the system should do when a product or data input is missing.
Separate marking from inspection and rejection
Vision positioning, code inspection and automatic rejection are different functions. List each required function explicitly. The supplied UV vision demonstration shows positioning and marking with a conveyor; it does not by itself demonstrate every inspection or rejection capability.
Agree on a production acceptance plan
Document the product, code, agreed production conditions and pass/fail checks. Confirm the chosen model, source, optics, sensing, interfaces and support responsibilities. Use the result to finalize the quotation and commissioning scope.
UV vision + conveyor reference · Paging + date-coding reference
Get a configuration for your actual product
Send the material, a sample photo, the required code and your production conditions. Ask for a marking trial and a written configuration before ordering.
Request a sample review